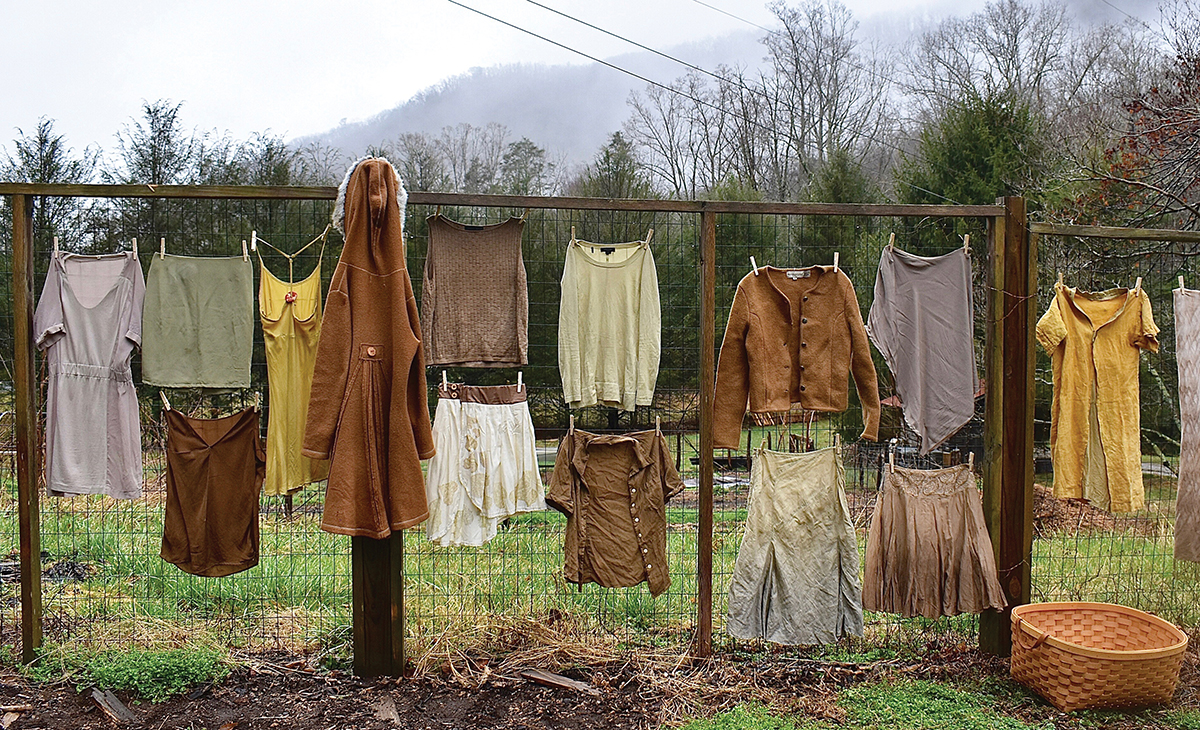
Naturally dyed clothing, including with black walnuts. Photo by Lyric East
On an autumn day years ago, when I was living way back in a dead-end holler, a neighbor told me that the piles of nut shell fragments that squirrels leave behind are colloquially called “middens.” I loved this instantly. Sounding close to the familiar “mittens,” it felt just the right amount of cozy—plus, I was deeply satisfied that there is a recognized and deliberate word for such an easily overlooked happening.
Promptly, as the season demands with the staccato crack of black walnuts on the tin roof of the old shed, I set about making middens of my own.
I have been grateful to live almost my entire adult life on land with large, mature black walnut trees. If you’re observant or a botanist, you may easily recognize black walnuts year-round by their dark, deeply grooved bark and chunky twigs. In the summer season, their large compound leaves dance with many-toothed leaflets. By autumn, they are adorned with large green orbs that droop the branches closer to the earth.
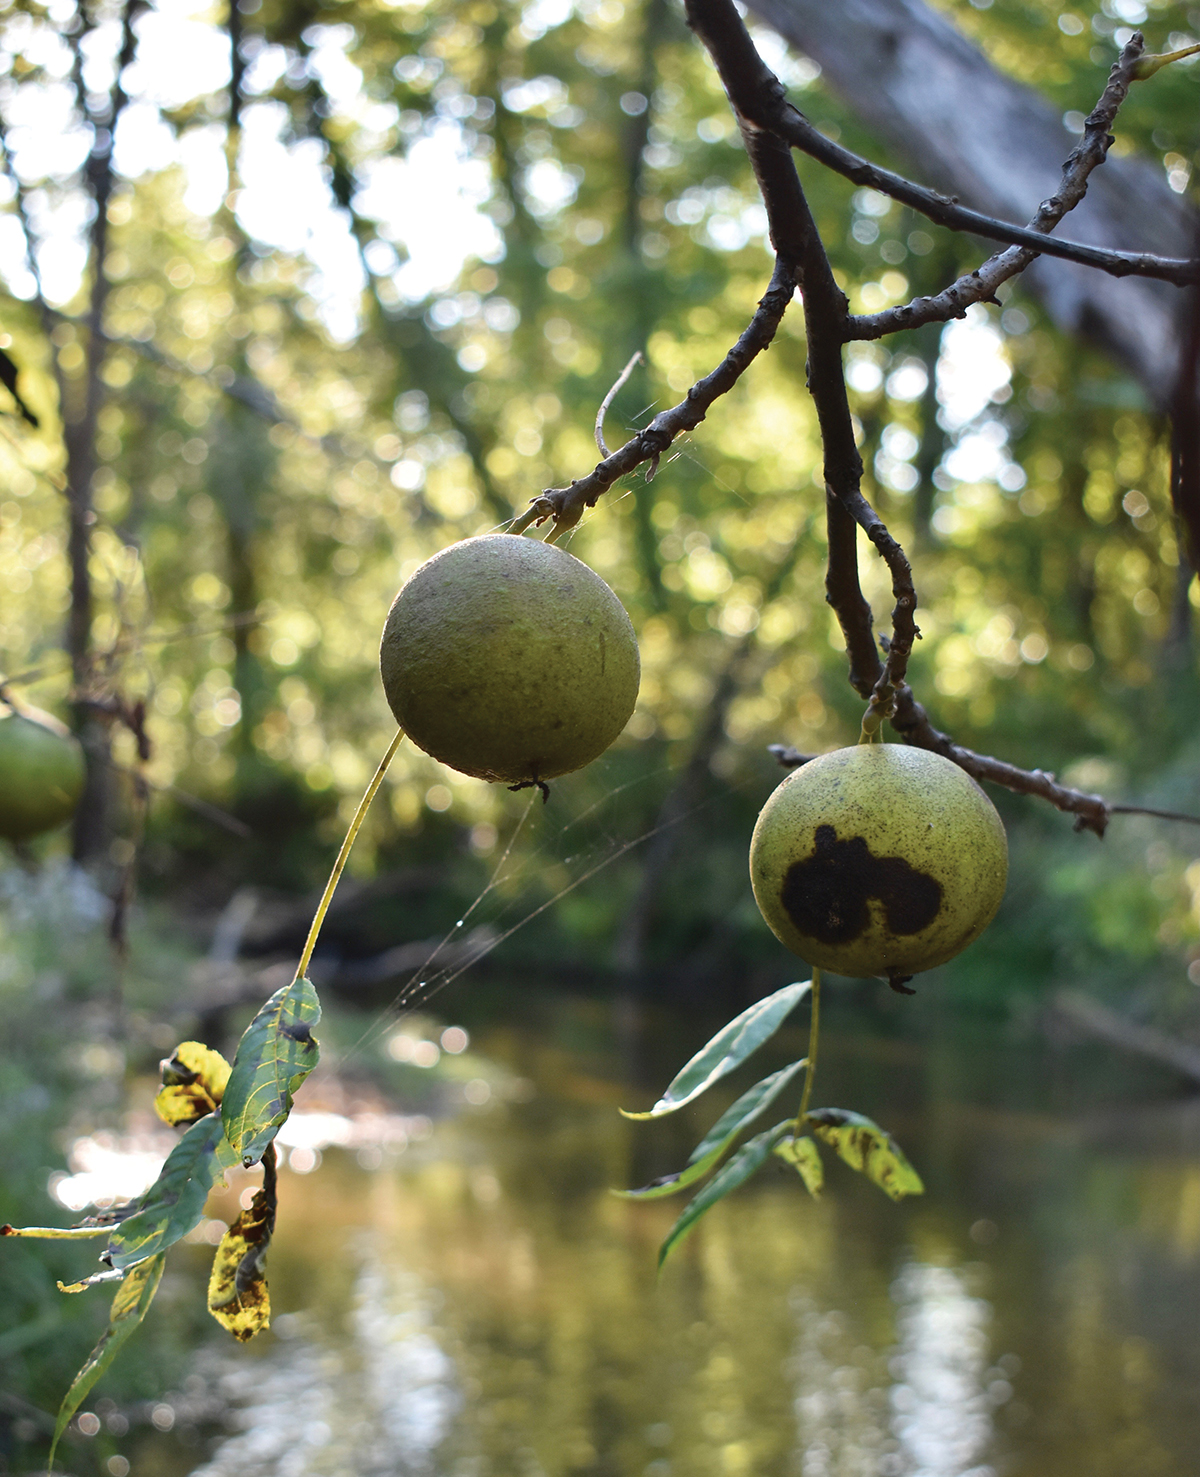
Photo by Lyric East
These green orbs are the outer hull of the nuts. Within the soft green hull lives a smaller, grooved orb with a very hard shell and within that shell lives the tender black walnut meat, the nut part that you eat.
The nut is delicious, tasting like a floral version of the English walnut you may be familiar with from the grocery store. I store the nuts to enjoy through the winter time, but the more pressing action for October is to gather the green hulls to make black walnut dye.
Gathering tends to be a leisurely affair. The green orbs fall to the ground when they are ready and make themselves very apparent. If you don’t live with walnut trees on your property, find neighbors who aren’t interested in the walnut’s many gifts, and make yourself a friend to them by offering to pick up the pesky green tripping hazards from their yard.
Walk along and find the biggest, greenest orbs and drop them in a bucket. You must always leave plenty for the squirrels. Immediately after gathering, dedicate time to smashing. You need to separate the soft green hulls from the hard-as-rock shell beneath for storage.
Be aware: walnuts will stain fingers! Wear gloves if you are not interested in evidence of your walnut devotion becoming public knowledge.
The fresh green hulls break open easily with one or two cracks on concrete with a hammer. Separate the hulls into one bucket and the hard-shelled nuts in another bucket. Move through this rhythm intentionally and listen to the changing sound of the hard walnut shells, now unpadded by hulls, dropping in the bucket.
When all the hulls have been successfully smashed (we should really eat more foods we have to smash), fill the hull bucket with water to begin the dye process. Spread the nuts out to dry for several days before putting them away for winter storage, ensuring both places are safe from squirrel raids.
Learn more about utilizing black walnut nuts, and other autumn happenings, in Lyric East’s Autumn Seasonal print booklet available at Shop.WildEastFarm.com/seasonals.
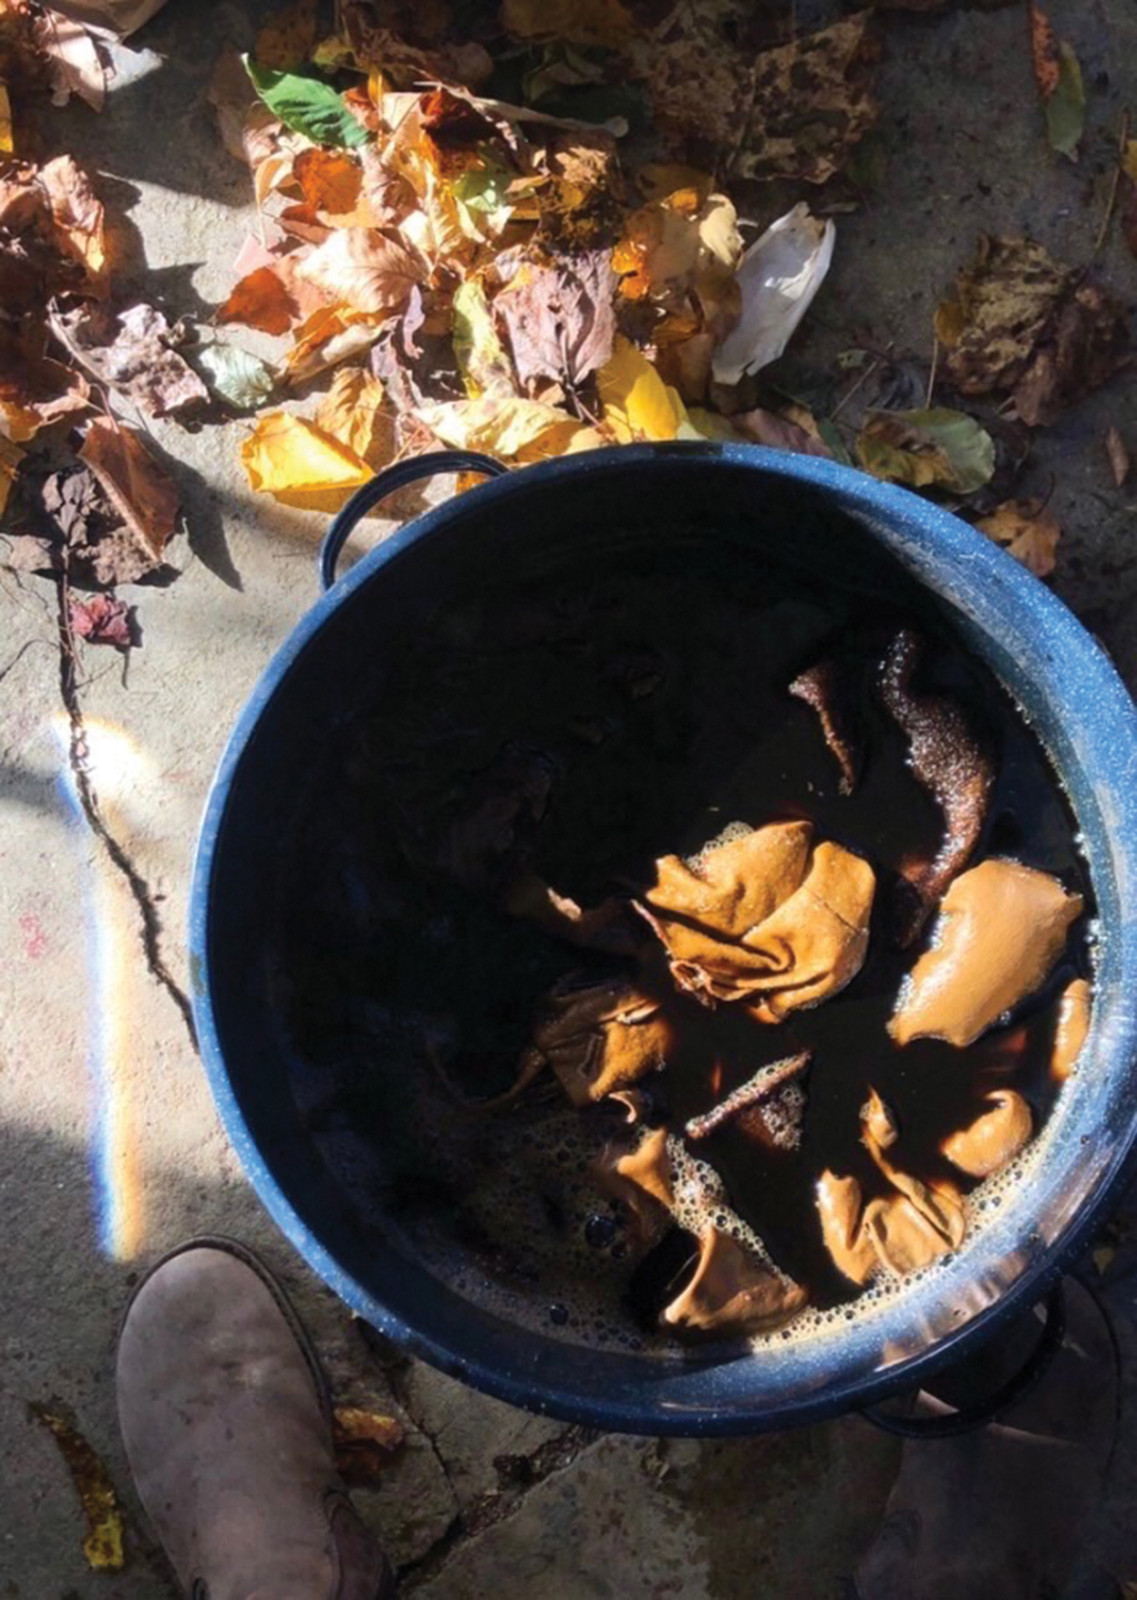
Black walnut dye. Lyric East, photo
Dyeing with Black Walnut
Materials Needed
Fresh black walnut hulls
Two large non-reactive pots
Scale for weighing fabric
Cheesecloth or other straining cloth
Hammer
Water
Animal fiber fabric (wool, cashmere, alpaca, silk, etc)
Instructions
I use a ratio of 1 black walnut hull to 7 grams fabric. Weigh your fabric and assess how many hulls you need.
Soak hulls in water in a large, non-reactive pot overnight. The amount of water does not matter, but try to eyeball enough that it will cover your fabric when the time comes.
After soaking your hulls overnight, heat the pot to near boiling, then remove from heat and let sit for several hours (or overnight) to cool.
Once cooled, strain out the hulls using your cheesecloth or other fine fabric strainer.
Strain your dye liquid into a fully clean, non-reactive pot. It is important to strain all of the small particles out of your water before adding your fabric. The small chunks of hull can add darkened spots to your finished work.
Now you are ready to add your animal fiber fabric. Wet the fabric first with clean water to maximize even absorption of the dye. Ensure it is clean and free of stains, which can emphasize splotches of dye.
Add your wetted fabric to your fully strained dye liquid and heat again until visibly hot, without boiling. Remove from heat and cover, allowing fabric to sit in the dye pot for 12-24 hours. Stirring gently every few hours can help ensure folds and creases get fully dyed. Do not agitate strongly.
After 12-24 hours, remove your fabric and rinse thoroughly under cool, clean running water until the water runs clear. It will leach brown dye for some time during this process. Hang your finished work to air dry. Expect the color to lighten significantly upon drying.
Enjoy being wrapped in the palette of walnut!